“Right in the wheelhouse!” Longtime friend and Michigan fishing guide Jamie Clous would exclaim for every ‘on-target’ cast and presentation. Back in my novice angler days, this meant that I’d done a good job — that I’d put my dry flies in front of the trout’s nose. It didn’t take me long to realize that keeping my flies in the wheelhouse led to more strikes and hook-ups. The same is true for the nymph angler; you’ll catch more fish if you keep your subsurface flies in the wheelhouse, which in this case, is the bottom layer of the water column where trout frequently feed.
The Presentation
Just like fishing dry flies, a good nymph presentation begins with a good cast. Not only is accuracy important, but a good nymph fishing cast gets the flies to the strike zone quickly. The weighted flies (or added weights like sinkers) commonly used for nymph fishing certainly sink in water, but a standard fly-fishing cast impedes their descent and delays their arrival in the strike zone. It looks great to cast a tight loop that stretches out horizontally, with line, leader and flies landing on the water at the same time. But if you cast this way while nymph fishing, the immediate downstream pull of the line on the surface resists the sink rate of the weighted flies — they don’t reach bottom until well downstream. To get the most out of every drift, you need a cast that allows the flies to hit the water and sink to the bottom before the line or leader on the surface begins to travel downstream.
The tuck cast has been around a long time, but it, or a modified variation of it, should be in every modern nymph angler’s arsenal. Think of it as the equivalent of the slack-line cast for dry flies; it allows the flies to reach the strike zone, often hitting bottom before the line hits the surface. The tuck cast allows you to maximize every drift by getting your flies to the strike zone faster.
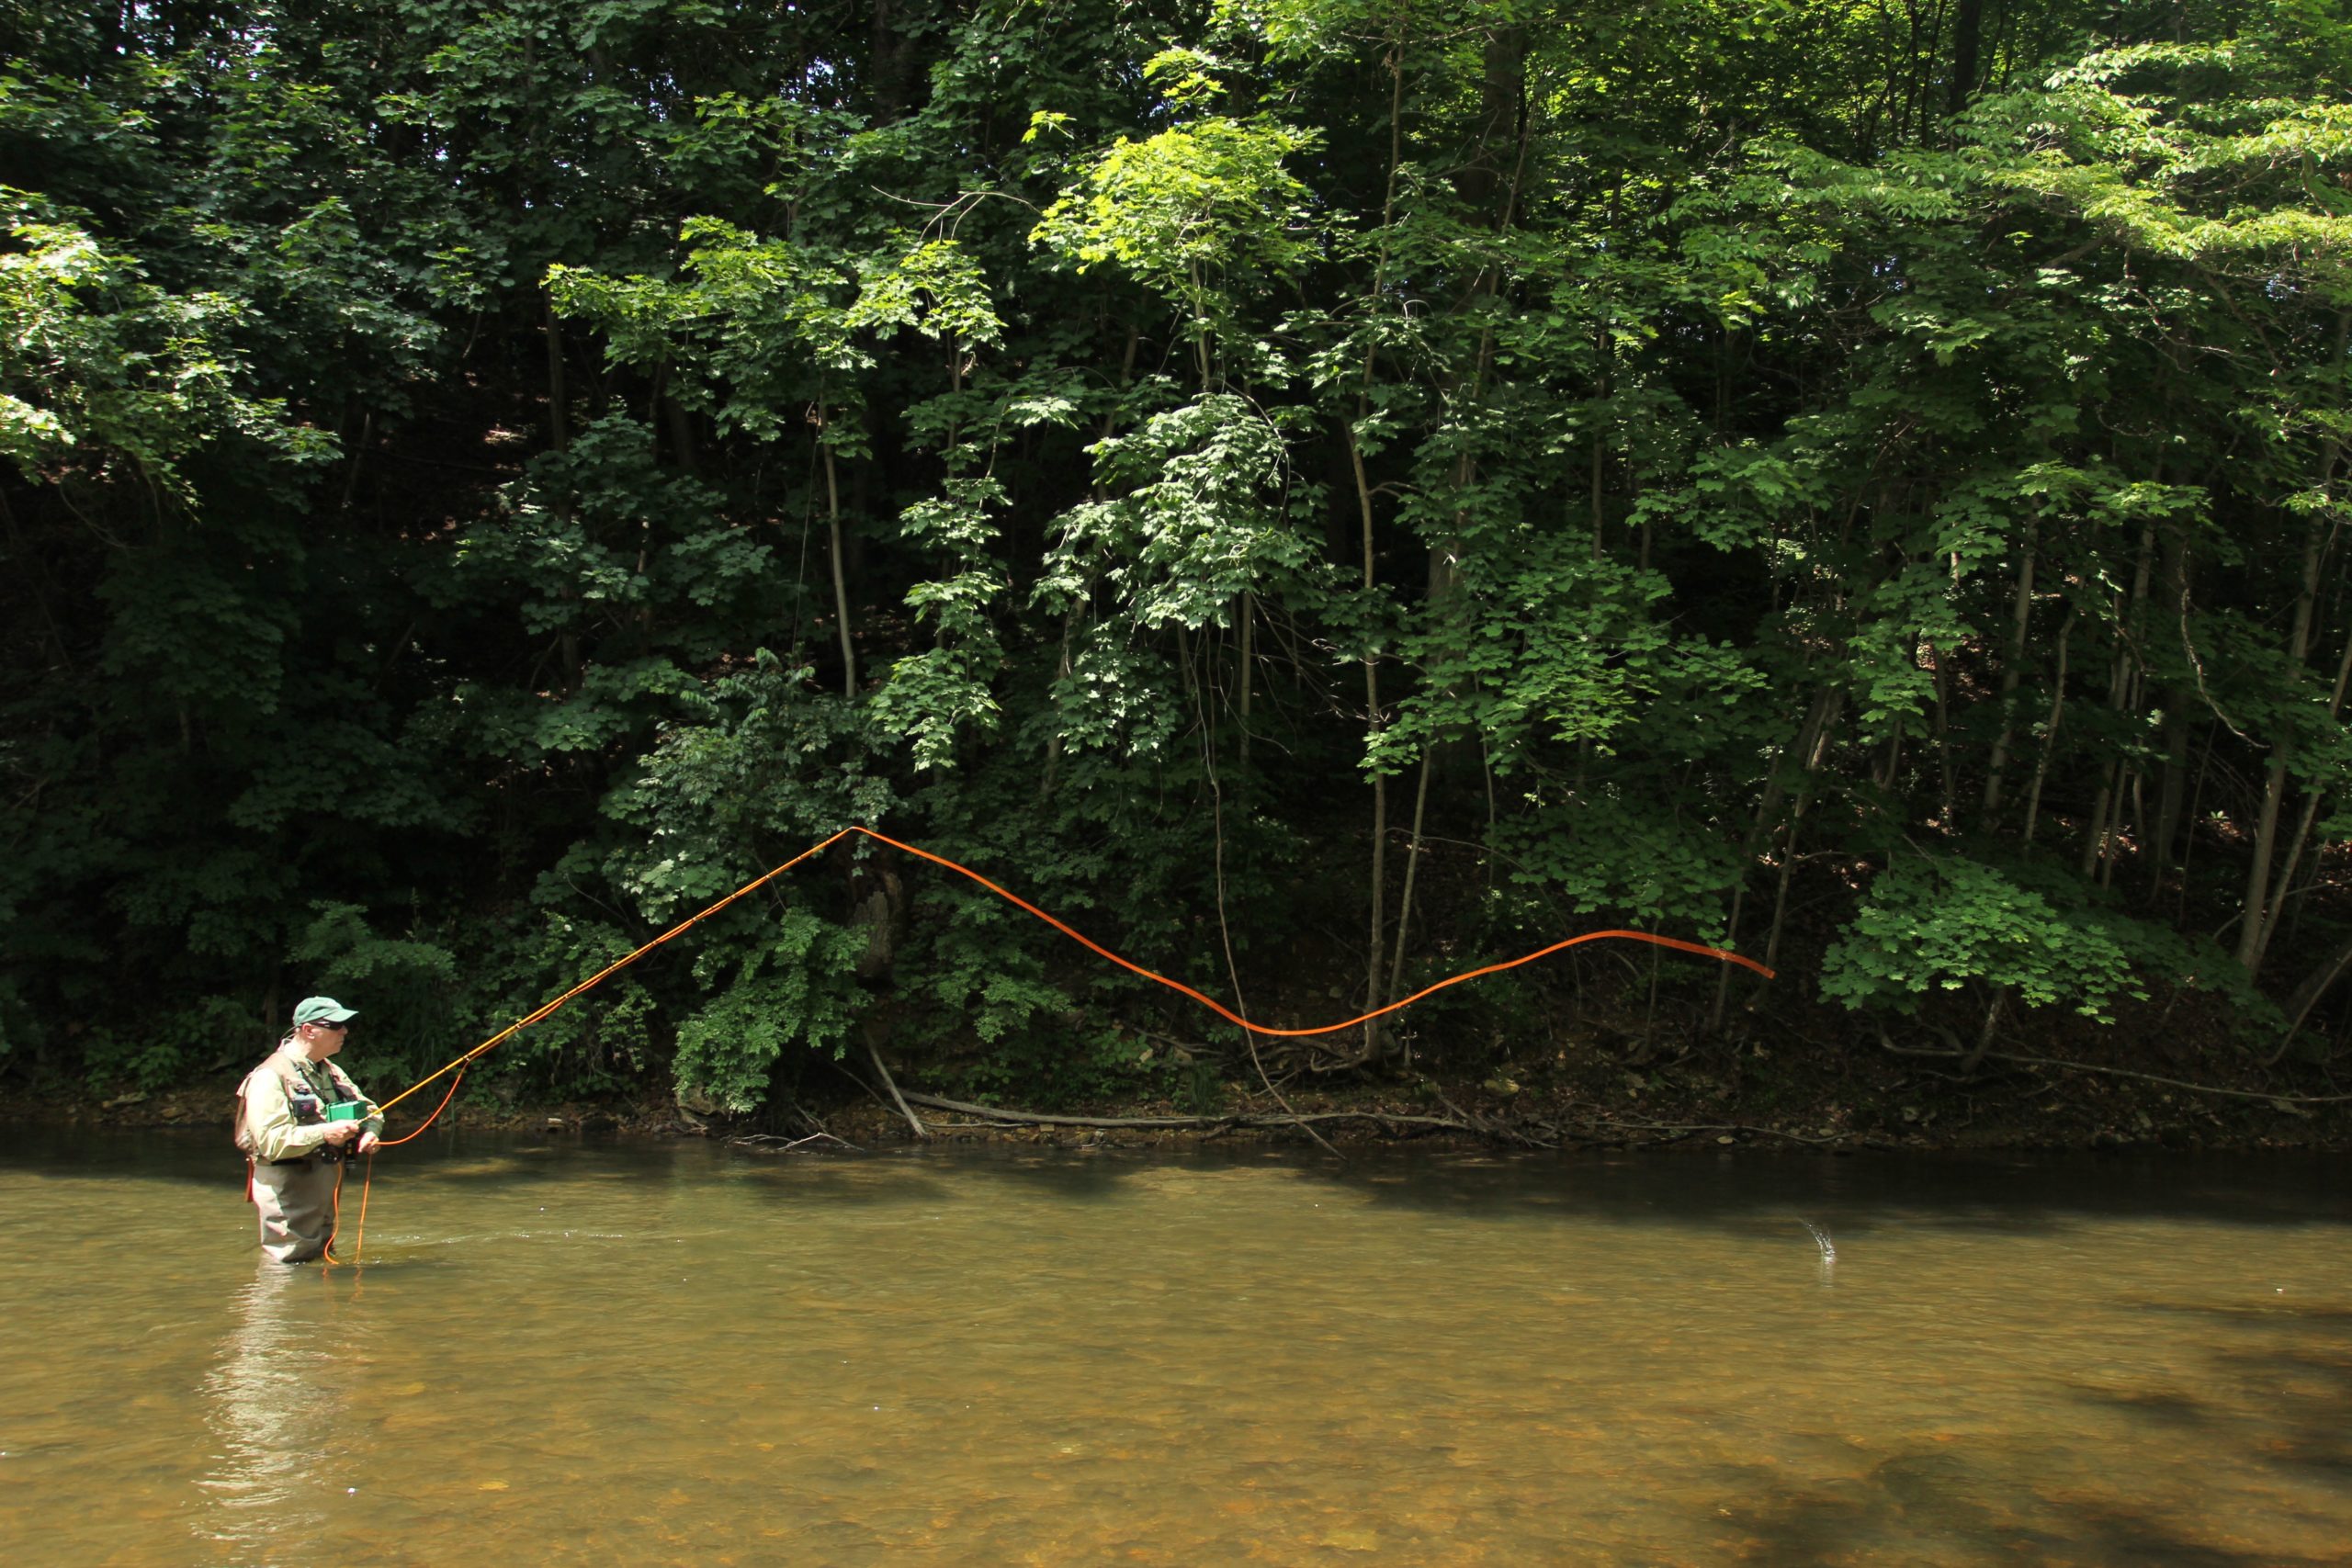
My friend (and fellow TFO advisory staffer) Ed Jaworowski taught me the tuck cast several years ago, and I captured it on video. The cast begins with a sidearm back cast with the rod held at about a 45 degree angle. The normal stop and pause between the back and forward cast is replaced by an oval transition with constant tension on the line to avoid letting the weighted flies snap back and bounce as they would with a standard cast. During this transition, the rod angle is changed from 45 degrees to a nearly upright position by flexing the elbow rather than the wrist. The movement is similar to a forearm curl with a barbell. The forward cast begins at the end of this transition, gradually and smoothly accelerating to a slightly overpowered but abrupt stop. Direct the forward cast at an upward angle. In other words, aim at the tree tops rather than the tree trunks. This provides enough room for the flies to ‘tuck’ under the line.
The tuck comes about when the weighted flies bounce back after reaching the limit of line/leader at the end of the forward cast and, being weighted, turn downward towards the water’s surface while the line remains high above the water. With a well-executed tuck cast, the line remains horizontal and parallel to the water, the leader (or at least the part of it closest to the flies) is vertical, and the flies land well before the line. The slack created in the leader lets the flies sink to the bottom unimpeded by any downstream pull from the line that would otherwise occur.
You can adapt the tuck cast for the newer nymph fishing methods such as Czech, Polish or French nymphing, too. Even though these techniques use very little fly line for the cast or presentation, the goal is the same — get the flies to the bottom quickly. The ‘oval tuck cast’ accomplishes the vertical entry of the flies and leader to maximize the drift, and is very similar to the standard tuck cast.
The cast begins with the arm extended forward in the normal position for the presentation. At the end of the preceding drift, simply flex the elbow, keeping the wrist stiff. The elbow and shoulder remain at the same elevation throughout the cast. Don’t drop your elbow or the cast will fail to tuck properly. An oval, constant-tension transition replaces the stop and pause in the back cast and leads into the forward stroke. Just as before, the cast ends high with a tuck finish, turning the flies downward.
The TFO Drift Rod
Both casts are fairly easy to learn, even in your backyard. Assemble your TFO Drift rod as a 10-foot rod, using the four main sections and the 1-foot extension. For me, this is the ideal length for most nymph-fishing situations, but you can also replace the 1-foot extension with the 2-foot section, making the overall length 11 feet.
A BVK l reel balances this rig very nicely with 6 or 7-foot leader. Replace the weighted fly with one or two sinkers with a knot around them to keep them in place. Tie a tag of yarn to the leader where the sinkers attach so you can see it. Place a hula-hoop or any other roughly circular target a few feet in diameter about 20 or 30 feet away and cast towards it. You’ll know you’ve done it right when the sinker/yarn lands in the circle and the tip of the fly line/leader junction lands in the same zone a second or two later. When practicing the oval cast for tightline nymphing methods, use a longer leader with very little of the fly line beyond the rod tip and shorten the casting distance a bit, at least at first. In no time, you’ll be dropping tuck casts perfectly and accurately.
Whether you’re nymphing with a strike indicator or using the Czech, French or any other tight line method, the tuck cast lets you get the most out of your efforts. You’ll maximize your drift. And you’ll catch more fish by keeping your flies in the wheelhouse.

