
When trolling crankbaits for walleye, there are several key items to look at that you may not be paying attention to: How deep are the walleye’s you’re trying to target? What are the walleye’s feeding on? How fast do you need to go to get a strike? These are just the first few steps you as an angler need to be asking yourself. Sometimes, the little details that we’re going to explain, can make a big difference in your catch at the end of the day.
Time of the Season
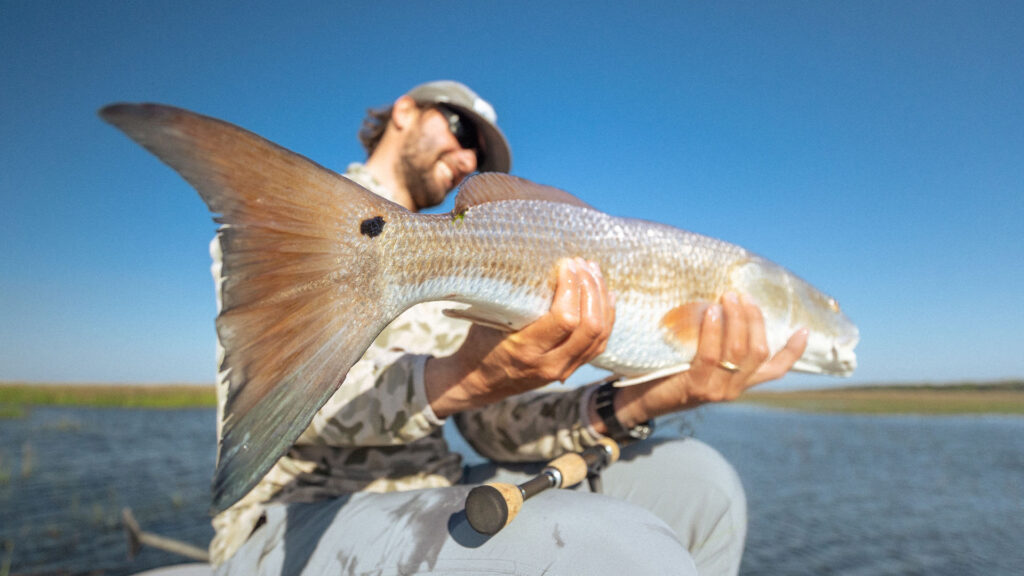
Spring, Summer, Fall I firmly believe walleyes will hit crankbaits day in, day out. You can get both a “reaction” strike and a “feeding” strike with crankbaits. Size, shape, color, sound, and speed are the triggering keys in all crankbaits. Manufactures like Rapala, Salmo, Storm, Strike King, and Berkley have multiple lines of crankbaits. From stick baits to minnow baits, to shad style baits. They all have their time and place.
For us here in the north country, when the water temperature is between 42F to 50F it’s hard to beat a stick bait. Lures such as the original Rapala, Rapala Husky Jerk, or Storm Thunderstick. These crankbaits have a wide, slow wobble at slower speeds (1.3mph to 1.8mph). When the water has warmed into the 50s, shad profile lures start to come into play. Lures like the #5 Rapala Shad Rap, #4.5 Salmo Hornet, and #5 Berkley Flicker Shad are what we typically start with. As the water warms even more as we get into summer, minnow profiles such as, Berkley Flicker Minnows, Rapala Taildancers, and Strike King Banana Shad are often my go-to lures.

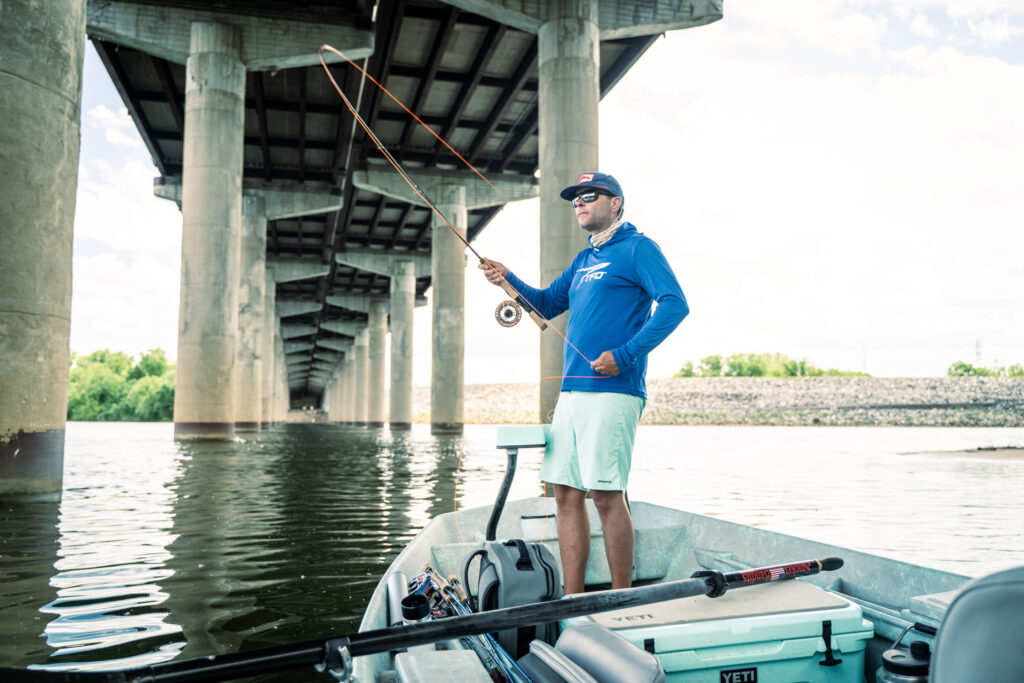
There are two specific set-ups we use when trolling crankbaits for walleyes. The first is called “long-lining” and are often used with planer boards. The second is leadcore. In either case, we will always use two IDENTICAL rod/reel combos for ease of repeatability (Minnesota Fishing Regulations only allow 1-rod per/angler).
With long-lining, you are solely relying on the dive-to depth of the crankbait to reach your target depth. All crankbait manufactures have the dive-to depths printed on the packaging (Dive-to: 7’ to 10’). These are all tested and verified based on 100’ of line. The first number is for #10 monofilament, and the second number is for #4/10 braid. A handy app for tech savvy people is the Precision Trolling Guide. This quick reference helps take the guess work out of exactly how deep your crankbait will run. They have spent the time and tested every single crankbait independently. As new lures are developed, they are added to the app. I have found it to be an incredibly handy tool. Now to the specifics..
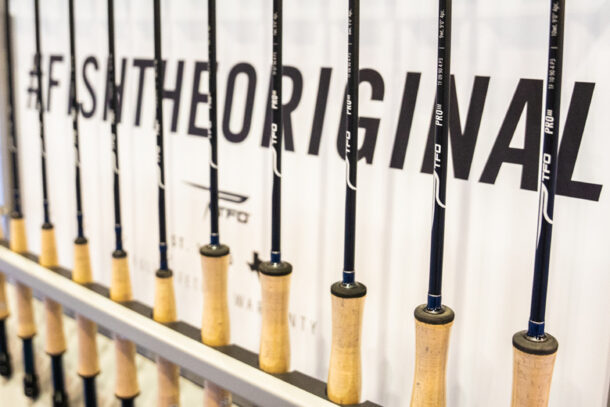
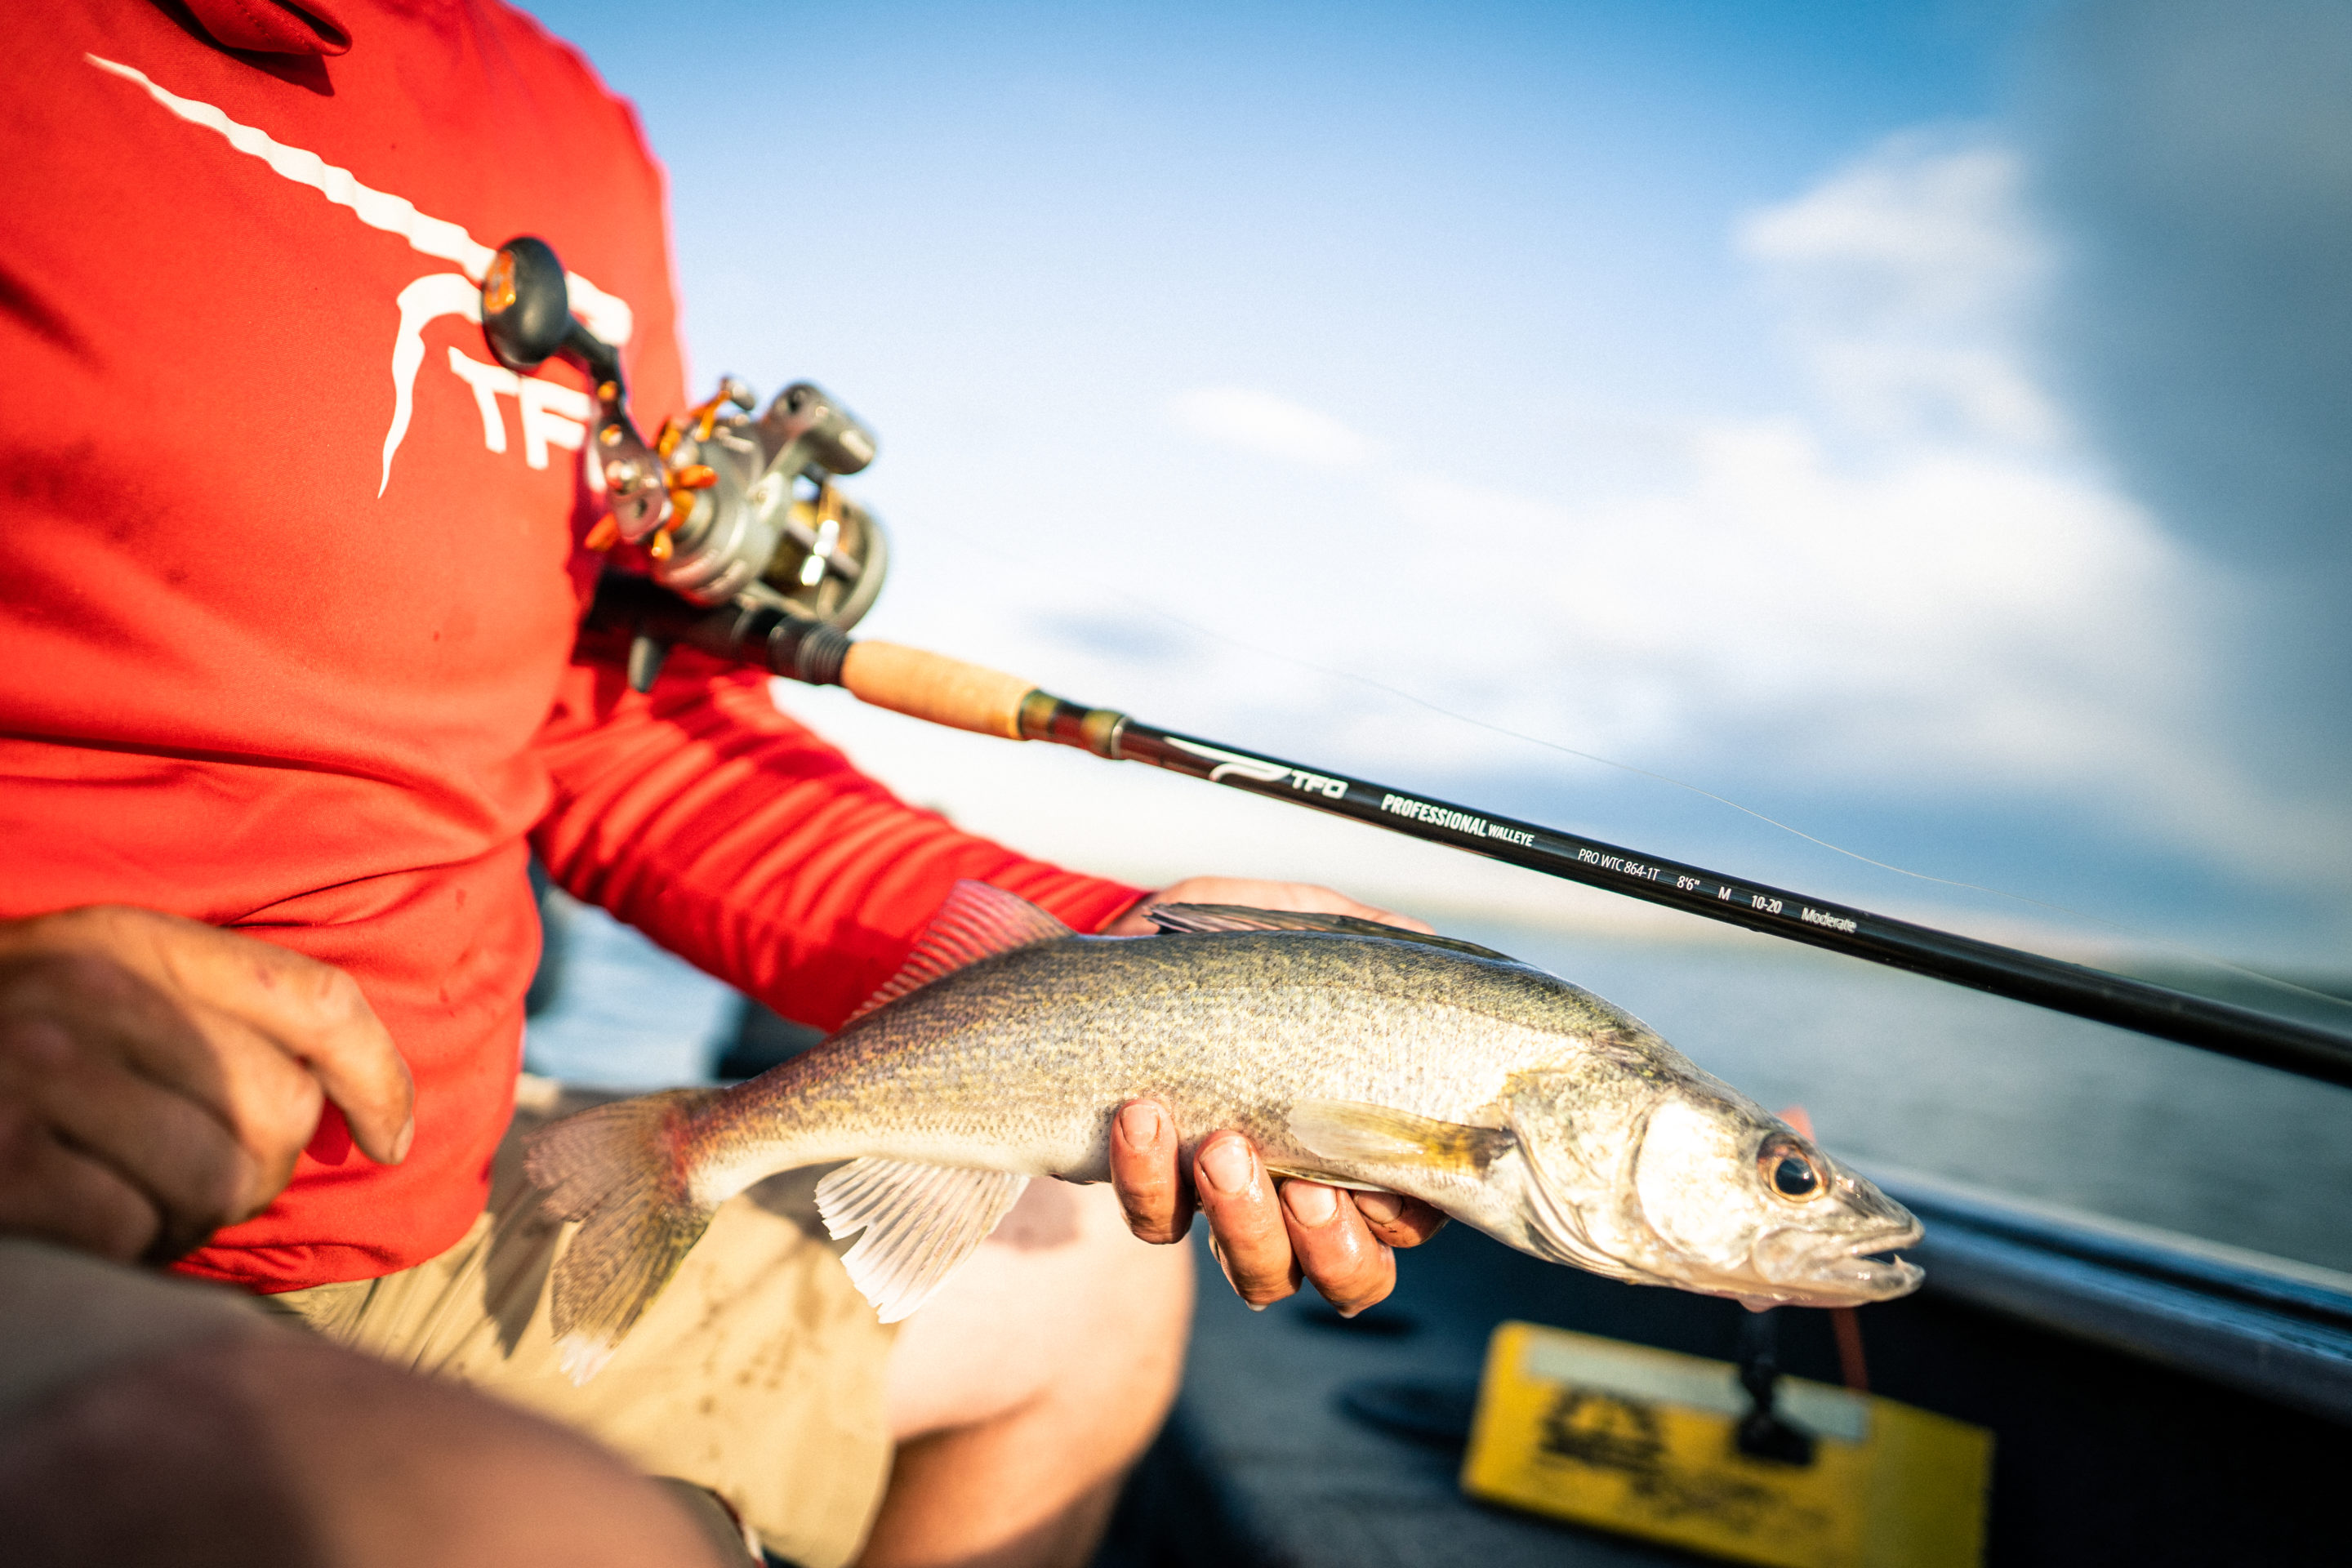
Our long-lining setup consists of an 8’ 6” Medium action TFO Professional Walleye Series Telescoping Trolling rod (PRO WTC 864-1T) paired up with a line counter reel. This reel is spooled up with #10 monofilament (we use Trileene XT). At the end of the mono, we attach a Northland Tackle Quick-Snap (more on that later). The very first thing we do with this set up, before even going fishing is calibrate it. A line counter reel measures the number of turns the spool makes, not the actual distance in feet. However, if you take the time setting them up initially (putting the proper amount of line on them) you can get them very close to accurate. Which we obviously recommend.
How It All Comes Together
Take a tape measure and mark off 100’, 125’, 150’, and 200.’ Start at your zero mark and walk the line out to your 100’ mark. At this point, if you have the spool filled correctly, your line counter reel should read 100’ with the line at the tip of your rod. If not, you may need to spool more line on or take line off accordingly. Then walk your line out to 125’, 150’, and 200’ (the actual known distance). Write these down on how they correspond to digits shown on your line counter reel. Keep these notes in a little notebook you will then keep in your boat for quick reference.
If you like fishing with braided super lines, you can use your favorite #4/10 braid. The advantage of braid is that it really transfers the action of your lure to your rod tip. You can see quickly if you pick up debris on your lure. Plus, your crankbaits will dive a little deeper on braided line. What I don’t like about it, is that it has zero stretch. Because of this, if your drag isn’t set lose or you crank the fish in a little fast, you can pull the hooks out of the walleye’s mouth. Another thing I don’t like about braid, is that it is difficult to work with when using your planer boards. The choice is yours. I do have both set ups for various conditions, but if you are only going to have one, we would recommend monofilament.
Our leadcore setup consists of an 8’6” Medium Heavy TFO Professional Walleye Series Telescoping leadcore rod (PRO WTC 864-1T), paired up with a line counter reel as well. Leadcore rods are designed with specific features (rod action, guides) to be used with leadcore line. If you are not familiar with leadcore line, it is a specific line that has a “lead core” which helps sink your lure. The line is color segmented in 30’ (10yrd) increments for easy identification and repeatability. This allows you to present smaller crankbaits to much deeper depths than they can dive-to on their own.
We spool our reels with 30’ of #10 mono backing, then attach the leadcore with a uni-knot. You can easily tie knots in your leadcore line if you peel back 6” or so of the lead from the Dacron like sleeve and clip it. I then spool on 7 colors of leadcore line. We attach a small ant-swivel and attach a 30’ leader of #10 mono. On the end, we attach a Northland Tackle Quick-Snap.
There are several manufactures of leadcore line. Woodstock #18 is a common leadcore line that sinks 5’ per/color @ 2.0mph. In more recent years, there have been some “super” leadcore lines developed that will sink 6’ to 7’ per/color @ 2.0mph. One of these “super” leadcore lines is Suffix #18 (it’s what we use). The advantage with using the Suffix line is that we will have less line out. This allows us to get the fish in quicker, with less chance of it coming off during the fight. As well, it allows us to get back to fishing quicker when we let out my line to the proper depth.

Let’s Go Fishing
Now that we have a basic understand of the two set-ups, which one do we use and why? If I am targeting fish in 20’ or less, I will long-line. The exception being in the early Spring if I’m targeting fish in that 15’ to 20’ range that are biting on smaller profile crankbaits. When the fish are shallow, I want my crankbaits 75’ to 100’ away from the boat. The further away from the boat I can get my lures in shallow water, the better. Noise from the outboard or just the disturbance in the water your boat makes from pressure can spook catchable fish. Planer boards can be of help here as well. I’m not opposed to using my Minn Kota in situations like this either.
Another thing you can do if these options don’t work with your specific set up, is to angle your rod holders upward. This will force you to have more line out. Allowing your lures to get further behind the boat to achieve the depth you need to be at (a good line counter reel is key here for repeatability).
As the water warms, and walleyes migrate off structure, into deeper basin areas chasing their favorite forage, I will be using my leadcore set ups. Once I mark fish on my Humminbird locator just off bottom or even suspended mid-depth I will set my leadcore rods to target those very specific depths. That is the beauty of leadcore. It is very tunable in that regard.
With either tactic, speed is key. We will troll between 1.7mph to 2.5mph most of the time. We have found that as little as .2mph can make a difference in our catch rate for the day. Pay close attention to the speed you are moving when you get a strike. This can change by the day or even by the hour.
An invaluable tool I run on my Alumacraft Tournament Pro is the Power-Pole with paddle attachment. I can fine tune my speed by raising or lowering this unique device with just the touch of a button.
Lure Selection
Stick baits, minnow style baits, and shad style baits all have a time and place. Tackle companies have a wide range of sizes and colors to choose from. If it doesn’t come in a color you desire, you can contact someone like Mike Larson, at Larson’s Quality Jig’s and have him paint something specific to your needs.
Size, action, and color are key. These can change by the hour, by your location, and by the weather conditions. If we are marking fish on the locator, we are changing size and profiles every 15 minutes until we catch a fish. Then we fine tune it by color. Knowing the lakes forage base is your starting point for color selection. This can be anything from Perch, Tullibee, Sunfish, Crawfish, to various minnows.
Expanding Your Zone
Once we have caught a few fish, we use the Depth Highlight feature on the Humminbird Helix 10 to find similar areas on the body of water we are on. For example, if we are fishing a basin area and catching fish in 28’ to 32’ of water. I highlight 30’ of water and set the +/- to 2’ of water. This will then highlight all the similar areas quickly for me. It’s almost a guarantee, if you are catching fish in one spot, you should be able to repeat it in several others.
While we are trolling, if we see larger schools of fish, we will mark them with a Waypoint. We can then go back to these schools with another tactic if needed. Something slower like a Rapala Jiggin’ Rap or Northland Tackle Rippin’ Shad. If that doesn’t trigger a strike, then we might drop a livebait rig down to them. Trolling allows us to cover more water quickly and find active fish.
Pro’s Pointers
When long-lining or using leadcore we will always keep our drag loose, have the “clicker” ON, and our rods in a rod holder. The “clicker” helps notify us of a strike. The rod holder keeps my rod secure and at a specific angle to the water. This allows us to focus on driving and watching the locator. Besides, there isn’t a need to set-the-hook when trolling. The fish hook themselves when they hit.
If we are marking fish, sometimes we will take a rod out of the rod holder and sweep it forward and slowly let it back a couple of times. You would be amazed at how many strikes that can trigger from following fish. I mentioned using the Northland Tackle Quick-Snap. This snap has a larger hoop, which in our opinion allows your specific crankbait the most action. There is no need to run a snap-swivel, as you already have a small ant-swivel above connecting your leadcore to your monofilament.
We will modify our crankbaits slightly by replacing the front treble hook with a red treble hook. This little change has improved our catch rate on days when nothing else did.
Do scents work on crankbaits? The simple answer is yes. We use Dr. Juice or Baitmate often to help improve our success on the water.
Many of us trollers deal with a little harmless, yet invasive species named Spiny Water Flea. The little critters attach to your line and slide down to your crankbait, which can change the action of the bait. You can take a BB size split-shot and place it around 3’ above your lure to help keep your lure clean.
With either trolling option always remember: Better To High, Than To Low…. Better To Fast, Than To Slow.
Hopefully you learned a few things you can apply in your next trolling outing. Like anything, it takes practice and attention to detail. The little things DO make a difference!
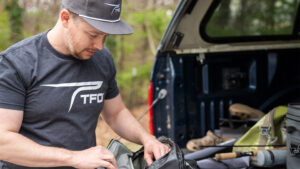
Blog written by TFO Ambassadors Chris Meitzner & Travis Sorokie.

![]()